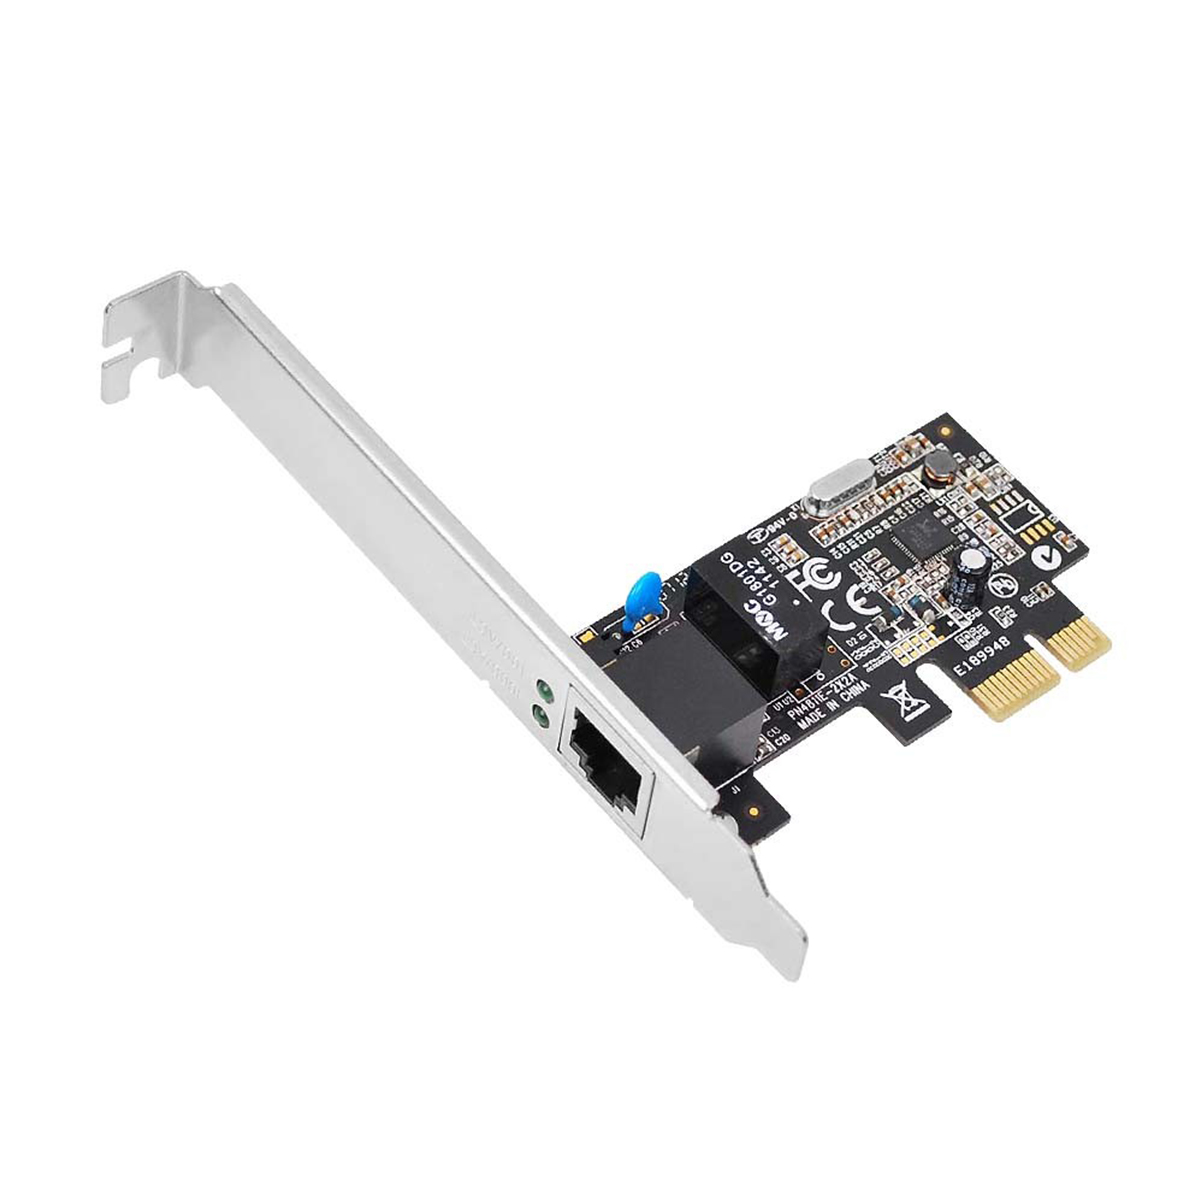
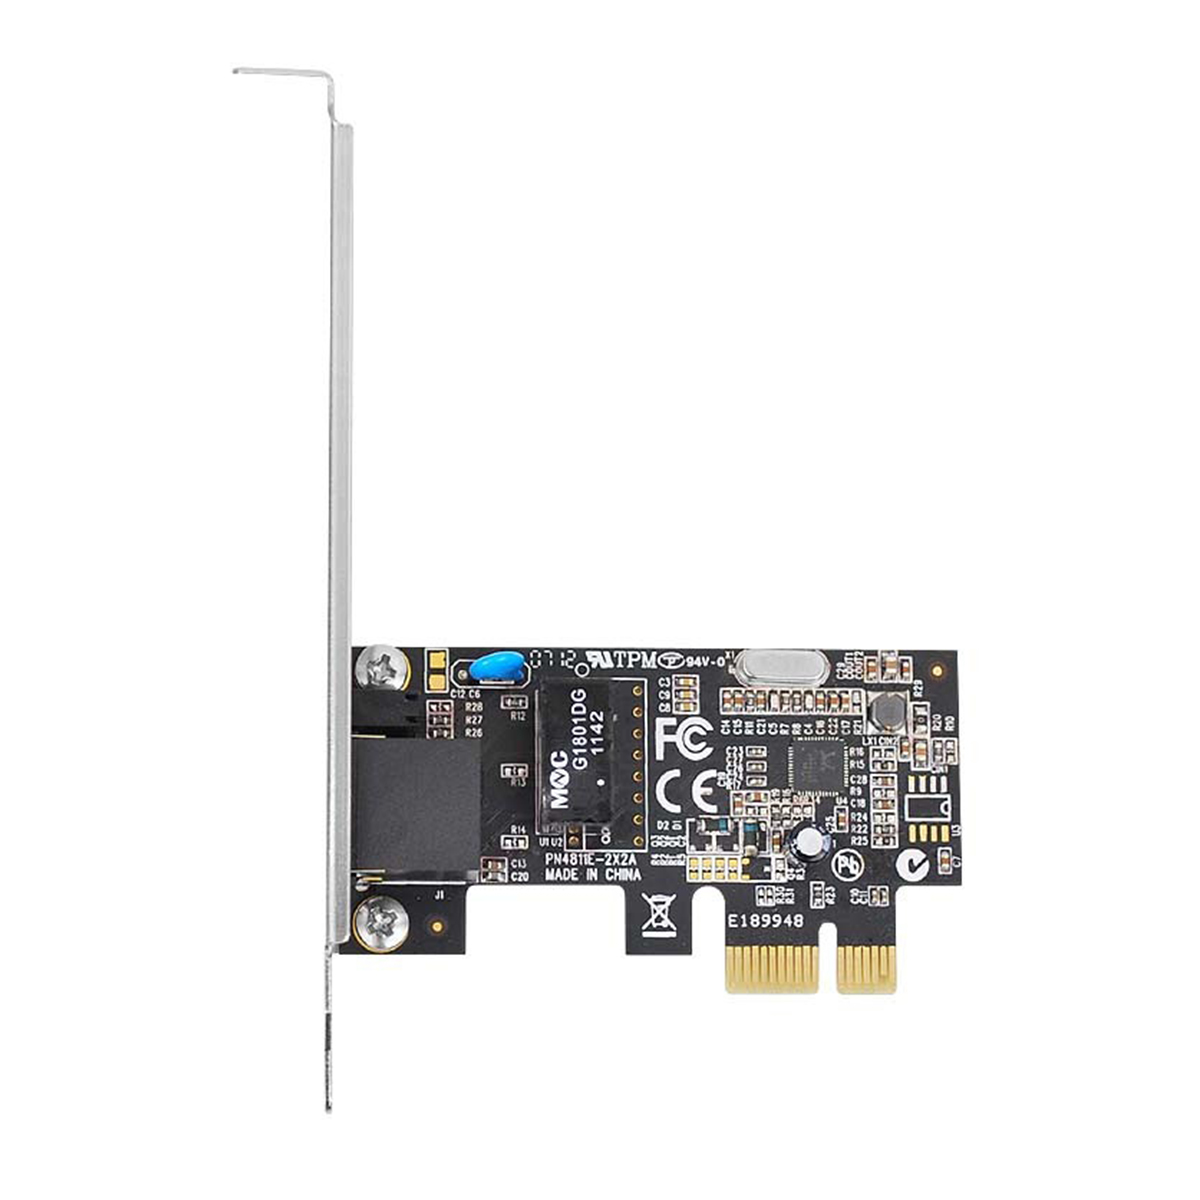
- AVLAB-GE01-1
- AVLAB Single Port Gigabit Ethernet PCIe Card, Dual Profile Bracket
■ Adds a high-speed Gigabit Ethernet port into PCI Express (PCIe) enabled computers ■ Supports crossover detection & auto-correction ■ Supports full duplex mode that doubles the network connection speed ■ Supports Wake On LAN (WOL) power management ■ Checksum and Segmentation Task-offload reduce CPU workloads for enhanced system response and network scalability ■ Automatic MDI/MDIX crossover at all speeds ■ Supports Flow Control, Layer 2 Priority Queuing, VLAN Tang and Jumbo Frames ■ LEDs indicate the Link/Activity status and 10/100/1000 Mbps ■ Easy plug-n-play installation ■ Works in any available PCI Express slot ■ Dual Profile design to work with standard height and low profile chassis
Highlights
Adds a high-speed Gigabit Ethernet port into PCI Express (PCIe) enabled computers
Supports crossover detection & auto-correction
Supports full duplex mode
that doubles the network connection speed
Supports Wake On LAN (WOL) power management
Checksum and Segmentation Task-offload reduce CPU workloads for enhanced system response and network scalability
Automatic MDI/MDIX crossover at all speeds
Supports Flow Control, Layer 2 Priority Queuing, VLAN Tang and Jumbo Frames
LEDs indicate the Link/Activity status and 10/100/1000 Mbps
Easy plug-n-play installation
Works in any available PCI Express slot
Dual Profile design to work with standard height and low profile chassis
Requirements
PCI Express-enabled system with an available PCI Express slot
Windows® 10 (32-/64-bit) / 8.x (32-/64-bit) / 7 (32-/64-bit) / Vista (32-/64-bit) / XP (32-/64-bit) / 2000
Windows Server® 2003 & 2008 (32-/64-bit) / 2008 R2 / 2012 / 2012 R2
Mac OS X® 10.5.x to 10.9.5
Package Contents
DP Gigabit Ethernet PCIe
Spare enhanced low profile bracket
Driver CD
Installation guide
Specification
Chipset: Realtek RTL8111E
Compliant with PCI Express v1.1 Specification
Compliant with IEEE 802.3, IEEE 802.3u, IEEE 802.3ab
Supports up to 1000 Mb/s data transfer rate and is backward compatible with 10/100 Mb/s
Product:
■ Dimensions: 4.72" (W) x 2.99" (H) x 0.59" (D)
■ Weight: 0.08 lbs
■ Color: Black
■ Interface: x1 (1-Lane), PCI Express
■ Connector: 1, 8-pin, RJ45, Female
LED indicators:
■ 100 Link/Active LED (Green)
■ 1000 Link/Active LED (Green)
Environmental conditions:
■ Operating temperature: 32 to 122 degrees F
■ Storage temperature: -4 to 140 degrees F
■ Relative humidity: 5% to 85% RH (non-condensing)
Certifications/Standards: FCC, CE, RoHS
Warranty: 1 years limited
Country of origin: China
FAQ
- Why do I have speed or connectivity issues?
- Why do I have speed or connectivity issues? If you are experiencing speed or connectivity issues, it is best to set a specific speed at half or full duplex in your settings. You can set your network adapter to perform at a certain speed, but the device that the adapter is connected to (whether it is a router, switch, or computer) must also be able to perform at the same speed. Note: You must log in as the local administrator before you continue. To open Device Manager: ■ Press Windows key + R. ■ Type devmgmt.msc. ■ Click OK. ■ Open the Networking adapters section. ■ Right-click the network adapter that you want to change and select Properties. ■ Click the Advanced tab. ■ Scroll down to Speed & Duplex. By default, it is set to Auto-Negotiate. ■ Select any of the speeds that you see in the list. ■ Click OK and restart your computer.
- I am having issues with my new network interface card (NIC) and my on-board NIC is still enabled. What do I do in Windows?
- Sometimes an on-board network interface card (NIC) conflicts with a new NIC. In these cases it is best to disable the on-board NIC. The best way to disable your on-board NIC is to go into your BIOS and disable it there if possible. To do this, consult your motherboard manual. You can also disable any NIC in Windows. Here is how you do this: First click Start, or, in Windows 10 and 8, hold down the Windows key and press X. Then click Control Panel. Windows 10 ■ Click Network and Internet. ■ Click Network and Sharing Center. ■ On the left, click Change adapter settings. ■ Right-click the NIC that you would like to disable and select Disable. Windows 8 ■ Click Network and Sharing Center. ■ On the left, click Change adapter settings. ■ Right-click the NIC that you would like to disable and select Disable. Windows 7 ■ Click Network and Internet. ■ Click Network and Sharing Center. ■ On the left, click Change adapter settings. ■ Right-click the NIC that you would like to disable and select Disable. Windows Vista ■ Click Network and Sharing Center. ■ On the left, click Manage network connections. ■ Right-click the NIC that you would like to disable and select Disable. Windows XP ■ Click Network Connections. ■ Right-click the NIC that you would like to disable and select Disable.
- How do I confirm that Windows detects my LAN device?
- To confirm that Windows detects your LAN device, complete the following: Press the Windows key+R, type devmgmt.msc, and press Enter. In Device Manager, under the appropriate heading, confirm that your expansion card is listed and that there isn't an exclamation mark next to it. For example, a USB LAN device would be under Universal Serial Bus controllers.


